Build a Car Company Crash Testing & Test Drives
Pass safety checks, tune handling, and ship cars that sell without tanking reputation.
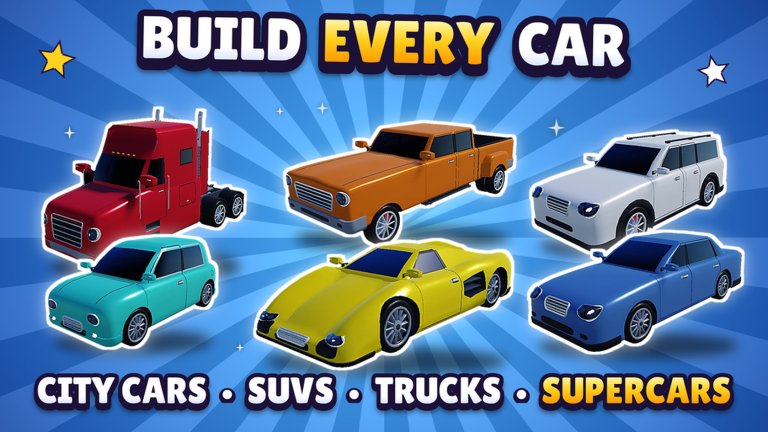
Crash testing and test drives are the quality gates that keep your brand alive in Build a Car Company. Skip them and pretty shells fail on the lot, reputation dips, and rival carmakers look safer by comparison. This guide explains why both checks matter, how to iterate after a red result, when safety should beat peak horsepower, and when to re-test after engine or body swaps.
Sunset Entertainment’s experience starts the fantasy in 2004. You design, manufacture, research 130+ technologies, hire staff, and race GT, Formula, rally, and drag. None of that sticks if every new SKU fails the crash bay. Pair this page with Design Cars for part synergy and the engines tier list when power upgrades break your last green result.
Why crash tests matter
A crash test stresses structure, chassis choice, and how mass sits over the drivetrain. Failures usually mean:
- Customers hesitate and inventory ages on the lot
- Brand scores slip before you ever reach a motor show
- Race specials that looked fast on paper become liability cars
Treat a failed crash as a design bug, not a random tax. Fix the model before you tool a second assembly line around it—see the Factory Guide so production never locks onto a broken SKU.
Why test drives matter
The test drive validates feel: acceleration, braking composure, and whether the chassis matches the engine’s torque. A car can scrape through crash safety yet still drive poorly enough that sales stall. Use drives to catch:
- Overpowered engines on soft platforms
- Race aero on a grocery hatch that understeers everywhere
- Weight from luxury interiors that kill drag launches
If the drive feels wrong, revise before you print a full batch.
First-session testing loop
- Assemble a balanced street body and reliable petrol engine (Design Cars).
- Run crash test immediately—do not price the car yet.
- Run test drive at street settings.
- Fix the worst meter (structure, balance, or powertrain match).
- Re-test until both checks are green.
- Only then set price and start the line.
Redeem VROOM and other promos from the Codes Hub so early Cash covers revisions without starving robots.
How to iterate after a fail
When the bay lights up red, change one major variable at a time:
| Symptom | First change to try |
|---|---|
| Structure / safety fail | Stronger chassis or lighter body shell |
| Instability on drive | Softer power tier or better drivetrain match |
| High power, poor composure | Drop peak HP; add reliability-oriented research |
| Race load fails after street pass | Re-test at race settings before the weekend |
Avoid swapping body, engine, and wheels in one panic edit. You will not know what fixed the score. Designers hired via the hiring guide shorten this loop once Cash is stable.
Safety vs performance tradeoffs
Street volume sellers should bias safety and reliability. They fund the company. Race specials may push power and aero harder, but they still need a green crash at race loads—see Racing.
Rules of thumb:
- Volume SKU — pass crash with margin; modest power; easy drive scores
- Halo / show car — higher finish quality, still crash-legal for reputation
- Drag special — traction and structure before meme boost numbers
- Formula / GT — unlock supporting research first; never tool a fragile peak build as your only car
Chasing the top engine on the engines tier list before chassis tech catches up is the fastest way to farm fails.
When to re-test after swaps
Re-run crash and drive after any of these:
- Engine tier change (petrol jump, hydrogen experiment, anything louder)
- Body shell swap or major weight change
- Drivetrain or chassis upgrade
- Interior or wheel packages that shift mass
- Converting a street tune into a race special
Cosmetic paint alone usually does not require a full re-test, but if the UI bundles aero parts with a “looks” pack, treat it as mechanical and test again.
Factory discipline around testing
Never let a failed prototype keep printing. Pause or reprice only after a green bay. One healthy line of crash-tested cars beats three lines of rejects. Reinvest test-driven profits into robots and efficiency research so the next revision cycle is cheaper—detailed in Make Money Fast and the Factory Guide.
Racing weekend checklist
Before GT, Formula, rally, or drag:
- Clone lessons from the street chassis, then specialize.
- Crash test at race settings.
- Test drive; note understeer, traction, or braking complaints.
- Fix one weak stat; re-test.
- Keep the volume seller untouched so a DNF does not freeze payroll.
Admin Abuse and patches in November 2026 can nudge balance—skim Updates before expensive retools.
Common testing mistakes
- Shipping untested cars because the paint looked finished
- Stacking three power upgrades between tests
- Using the street SKU as a Formula car without a fresh crash
- Ignoring drive feedback after a barely green crash
- Tooling a second line before the first model is certified
Soft goals
- Every street car on sale has a recent green crash and drive
- Every race special was re-tested after its last engine or body swap
- You can name the last change that turned a fail into a pass
- Factory Cash still flows while you iterate (codes + group rewards help)
Related reading
- Design Cars — part synergy and revision order
- Engines tier list — which powertrains to unlock next
- Factory Guide — keep lines aligned to certified models
- Racing Guide — series loads and weekend prep
- Getting Started — first-hour checklist including tests
Pass the bay, trust the drive, then scale. Reputation in Build a Car Company is earned one green result at a time—not by the loudest engine in an untested shell.
Mid-game testing cadence
Once the plant is humming, schedule tests like a real OEM. After each research unlock that touches structure, power, or mass, park one prototype, run crash and drive, then decide whether the volume seller deserves a mid-cycle refresh. Do not push every experimental hydrogen node straight onto the bestseller line.
Keep a simple notebook (or sticky on a second monitor): last green configuration, last failed change, and the Cash cost of the fix. That habit stops you from re-breaking a certified car during a late-night Admin Abuse session. When friends join on the eight-player servers, let them joyride the test mule—but keep tooling authority on the certified SKU so one meme engine does not wipe the lot.
If rivals flex safer cars at shows, answer with documented green tests and a clean race result, not another untested facelift. Testing is the quiet loop that makes every other guide on this wiki actually work.
Frequently Asked Questions
Quick answers to the most common questions.
Do I have to crash test every new car?
Yes. Run crash test and test drive before you lock pricing and production so failed safety checks do not tank sales and reputation.
When should I re-test after upgrades?
Re-test after engine, body, chassis, or drivetrain swaps, and whenever you convert a street car into a race special.
Should race cars prioritize safety or power?
They need both: push performance for the series, but keep crash results green at race loads before you enter the weekend.
What if my car passes crash but feels bad on the test drive?
Treat the drive fail as a real defect—usually powertrain mismatch or excess weight—and revise before printing a full batch.