Build a Car Company Bodies Tier List
S–D ranks for compact, sedan, sport/GT, luxury, rally, and experimental shells.
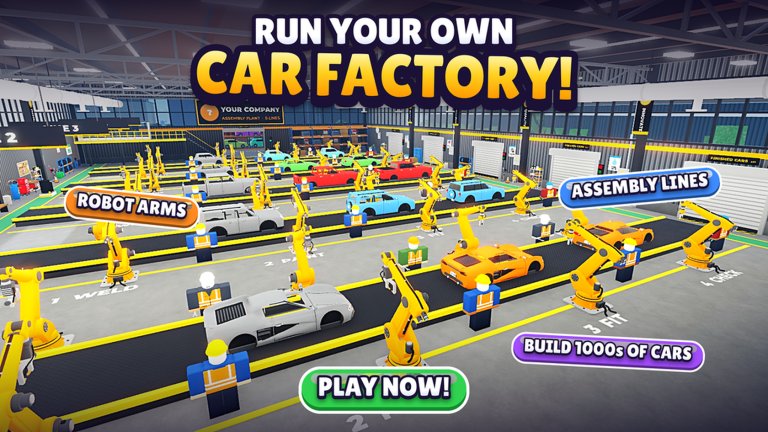
Body and chassis choices decide whether your Build a Car Company factory prints Cash or burns tooling. This bodies tier list ranks shell styles by progression value: how fast they sell, how kindly they treat crash tests, and how well they pair with engines from the engines tier list.
Always re-run crash tests after a body swap. Work through Design Cars and Crash Testing so ranks turn into shippable SKUs—not garage screenshots.
S tier — volume-first shells
- Compact volume sellers — short overhangs, light curb weight, forgiving crash envelopes, and high sell-through at modest prices
- Efficient family hatch / small sedan shells — once unlocked, carry the Cash loop that funds robots and lines
S-tier bodies are the backbone of Make Money Fast play. Tooling cost stays reasonable, dealers keep ordering, and you can iterate engines without rewriting the whole plant. Prioritize these before exotic GT skins.
A tier — excellent core choices
- Mainstream sedans — strong brand scores when interiors and engines match; slightly higher tooling than compacts
- Sport / GT shells with balanced weight — premium street and weekend race specials once chassis research catches up
- Light crossover-leaning bodies — situational volume when players want ride height without heavy luxury mass
A-tier shells are rarely wrong. Choose based on your current factory Cash buffer and which engines you can actually stabilize.
B tier — situational
- Heavy luxury bodies — look premium and support high sticker prices, but crash mass and tooling punish early saves
- Rally-leaning shells before durability research — great fantasy, fragile scores until frame tech lands
- Narrow niche coupes — sell slower; justify them as halo cars after the volume seller is healthy
Use B-tier when a motor show, rival pressure, or racing series specifically rewards that silhouette—not as your only line.
C tier — transitional fillers
- Tutorial / placeholder bodies — fine for the first session, then replace
- Over-styled experimental previews — cool in the design studio, weak sell-through until research and marketing catch up
- Mismatched exotic shells on budget engines — brand scores suffer and crash tests fail
Treat C-tier as a bridge. Keep one for learning the design tools, then park it.
D tier — traps for most players
- Max-weight luxury on day-one chassis — crash failures, refunds, and stalled lines
- Experimental flying or concept bodies before Cash/minute is stable — RP and Cash vanish with little sell-through
- Skipping crash tests “to save time” after a body change — reputation damage costs more than the test
- Tooling three sport shells before one compact seller — classic cash crunch
Tooling cost vs sell-through
Every body change burns setup time and often Cash. Ask three questions before you commit:
- Will this shell clear crash testing with my current engine?
- Can the factory absorb a slower sell-through for a week?
- Does the body unlock a price tier my brand can defend?
Compact S-tier shells win because the answer is usually yes on all three. Heavy luxury and experimental shells often fail question one or two early on.
Crash test friendliness
Lighter, shorter bodies forgive early chassis research. Long luxury overhangs and extreme sport aero packages demand better frames, belts, and sometimes drivetrain upgrades before scores go green. After any body swap:
- Run the full crash suite immediately
- Fix frame/drivetrain before cosmetics
- Only then retune price
If scores collapse, roll back to the previous A/S compact or sedan rather than stacking trim on a failing shell.
Pairing bodies with engines
| Body role | Engine pairing | Notes |
|---|---|---|
| Compact volume seller | S/A efficient petrol | Reliability over peak HP |
| Mainstream sedan | A/S street or GT petrol | Supports mid-premium price |
| Sport / GT shell | A/S GT or race petrol | Chassis must hold torque |
| Heavy luxury | High-torque street petrol | Do not under-engine |
| Rally-leaning | A torque petrol | Durability research first |
| Experimental | Late exotic / hydrogen when ready | Endgame flex only |
Never drop a peak race engine into a day-one compact without checking crash scores—and never put an economy micro engine into a heavy luxury shell expecting brand lift. Cross-check engines every time the body changes.
Spending order after codes
- Lock one S-tier compact (or efficient small sedan) as the Cash engine of the company
- Pair it with the best affordable A/S street engine and pass crash tests
- Add one A-tier sport/GT or sedan halo when Cash/minute is comfortable
- Only then tool rally, heavy luxury, or experimental shells
- Revisit ranks after updates and Admin Abuse weekends
Redeem VROOM and other codes into tooling and robots that support the volume shell first—not into a third experimental body.
Related pages
Pick bodies your chassis, Cash, and engines can actually support—then climb into sport and luxury shells as the plant grows.
Quick body-shopping checklist
Before you tool a new shell: confirm crash research can hold the mass, confirm the SKU role still matches dealer demand, and confirm you still have Cash for a re-test iteration. Bodies that look perfect in a late-game manufacturing showcase often sit one durability node beyond your workshop.
After tooling, crash test immediately, then produce a small batch and watch sell-through for one session. If units stall, cut price slightly or roll back to the previous S-tier compact rather than flooding the lot with unsold sport shells. Keep notes beside this bodies tier list so the next design night starts smarter.
Frequently Asked Questions
Quick answers to the most common questions.
What is the best early body style?
A compact volume seller or efficient small sedan. They pass crash tests more easily and keep Cash flowing for factory upgrades.
Should I tool a GT shell before a compact seller?
Usually no. Lock an S-tier compact first, then add sport/GT as a halo once Cash per minute is stable.
Why does my luxury body fail crash tests?
Mass and overhangs outrun your chassis research. Reinforce the frame, retune the engine match, or temporarily use a lighter shell.
Do experimental bodies help early progression?
Rarely. Treat them as endgame flex until factory Cash and required research nodes are comfortable.